
Raspberry Pi
In 2012, I purchased a Raspberry Pi 1 Model B. I remember bringing it home and being excited to figure it out! This credit card sized computer had been talked about in many of my Computer Science classes, and I was excited to be one of the first people to have my hands on it. And then life continued to happen. The tiny box get put in a drawer, I found myself in Thailand for the summer, and the jumped into second year Education classes, and the little box remained in the drawer.
Five years later, the little box has emerged from the drawer! Upon opening the box, I looked over the device and and ports. The Raspberry Pi 1 Model B has: 2 USB Ports, 1 HDMI Port, Ethernet Port, 3.5mm Audio Jack, Composite Video Port, SD Card Slot, 26 pointy things (which I later discovered were General Purpose Input Output (GPIO) Pins, and a MicroUSB Port that is used to power the device. After looking at it for a bit... I had to admit that I had no idea where to start! So, I did the logical thing. I watched a YouTube video! Below is an outline of my process of tackling the Raspberry Pi and a reflection on the process.
Five years later, the little box has emerged from the drawer! Upon opening the box, I looked over the device and and ports. The Raspberry Pi 1 Model B has: 2 USB Ports, 1 HDMI Port, Ethernet Port, 3.5mm Audio Jack, Composite Video Port, SD Card Slot, 26 pointy things (which I later discovered were General Purpose Input Output (GPIO) Pins, and a MicroUSB Port that is used to power the device. After looking at it for a bit... I had to admit that I had no idea where to start! So, I did the logical thing. I watched a YouTube video! Below is an outline of my process of tackling the Raspberry Pi and a reflection on the process.
|
|


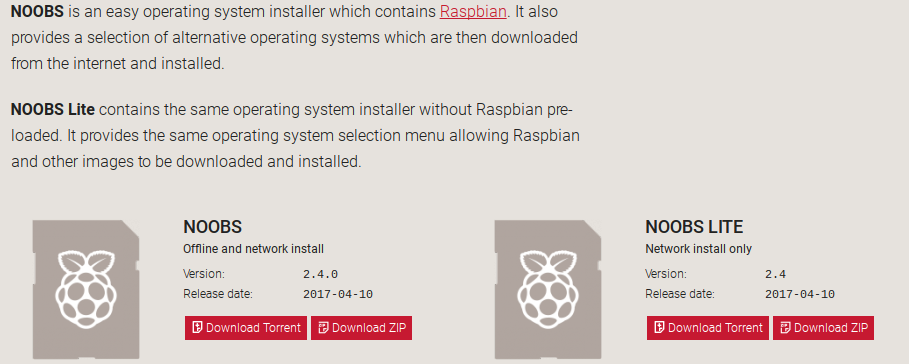
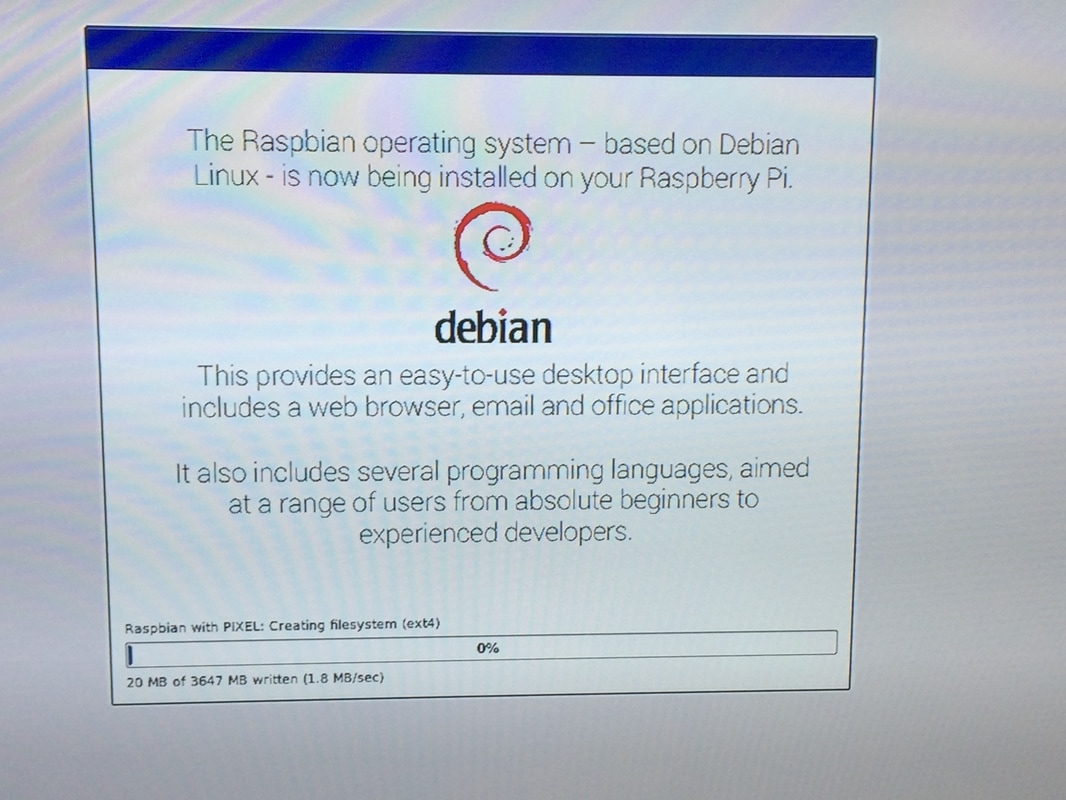
Step 2: Configure and Set-Up SD CardUp next... install NOOBS (New Out of Box Software) on to my 16GB SD Card. The Raspberry Pi website does have some instructions listed there as well, but I found my notes from the YouTube tutorial listed above to be much more useful in doing this.
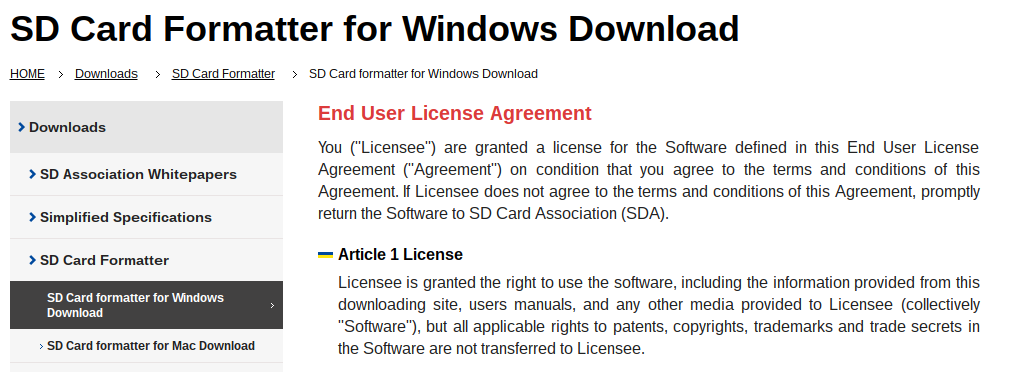
The installation process had several steps: 1. I needed to format my SD Card. I went to the website link that both the YouTube tutorial and the Raspberry Pi website suggested and used formatted the SD Card. I will admit to being completely unsure of what I was doing here. There were requirements of things I had to click (ie. set 'Format Size Adjustment' to 'ON'). What I do understand is that formatting the SD Card was necessary to allow NOOBS to be installed. 2. After the SD Card was formatted (which didn't take very long at all), it was time to get NOOBS (not NOOBS lite) onto the SD Card. This was a 2 step process. First, I needed to download the NOOBS ZIP file. The second step was to extract the ZIP file and put its contents onto the SD Card. The laptop that I did this process on is SLOW and very bogged down. The process of putting these files onto the SD Card was quite time consuming. Someone was needing to do many of these for a school, I would recommend having more than one computer going at a time (I would probably get some students to help!), or purchasing the SD Cards with NOOBS pre-installed. |

|

|
|
Reflection
What did I learn?
Tackling the Raspberry Pi was slightly outside of my comfort zone. I am quite comfortable with navigating software, but working with hardware has been a learning experience for me these last couple years. In my job, people are often looking at me to set thing up hardware wise, and I don't have a background of working with computer hardware, and it has never been a huge interest for me. It is something that I learn as I need to. I had to do a fair amount of research throughout the process in order to understand what I was doing and why I was doing it, particularly with formatting the SD memory card. I will admit to not really knowing why I was doing certain things throughout the process, but trusted the tutorials and information I had read as tools to fill in the blanks correctly. It sometimes took me getting through some steps I did not understand in order to get to a place that I knew what I was doing, which made me understand why I had done things earlier.
How does this connect to Makerspace?
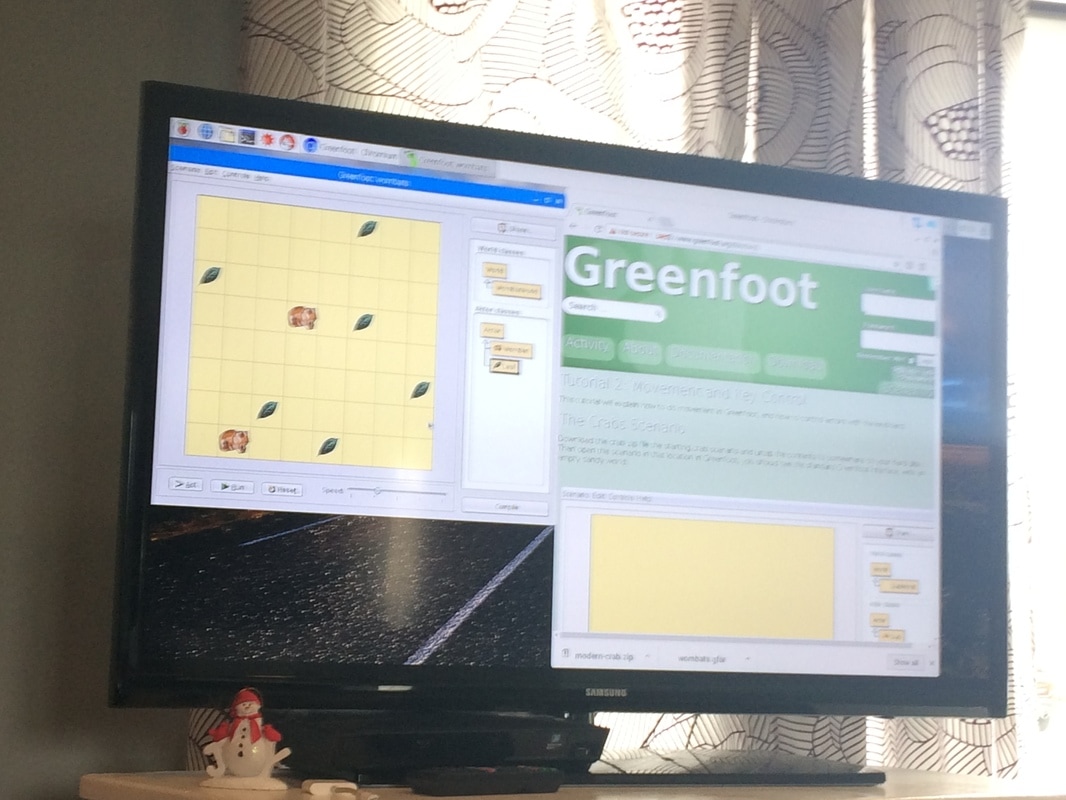
I can see students loving this small computer! It boots up quickly, has some useful, engaging, and educational pieces to it, and can be further modified. We have talked in class a lot about using programming in a Makerspace setting, and how programming and creating (through Scratch, Greenfoot, or any other program) really connects in with creativity and critical thinking. What I do love as well is the cost aspect of the Raspberry Pi. The Raspberry Pi 3 Model B is sold for about $50CAD, which makes for a pretty cheap, highly modifiable computer. I can also see many interesting things coming from students, likely thought the use of tutorials first or gaining ideas from others, until confidence is built. I can then see some keen students coming up with some really interesting ideas of other ways that Raspberry Pi can be used.
What are my Next Steps?
There are a couple things that I do not like about how my Raspberry Pi is working right now. The primary issue right now is that I can not get a secure internet connection, so I will be looking into how I can fix that issue. Once that is going,
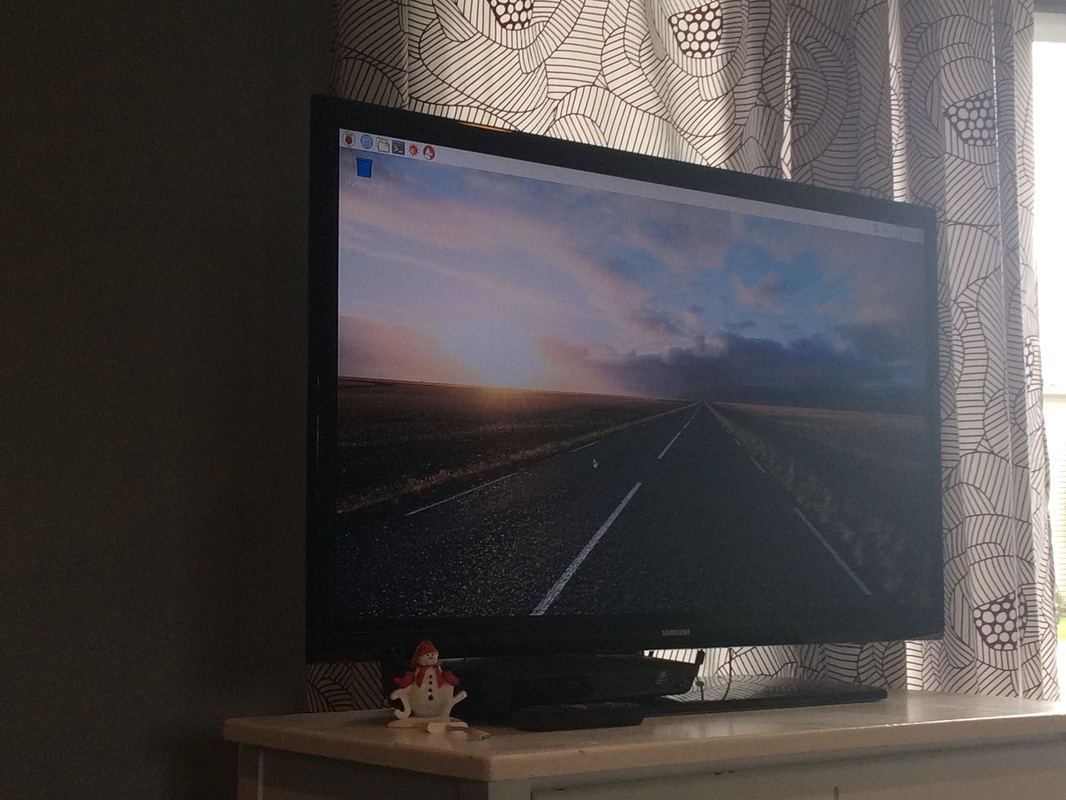
1. I can see myself using the Raspberry Pi semi-regularly, particularly with it set up on my TV. I have looked into some ways that the Raspberry Pi can be used as a media center, however I may need a newer model. Here is another way that I can do this...
2. I want to get or build a small case for my Raspberry Pi, since I feel I'm going to break it whenever I touch it!
3. I would like to introduce my students to it, and possibly purchase several for our school Makerspace.
Conclusion
I am proud of myself for finally getting my Raspberry Pi out of the box! It wasn't a scary as I thought it might be. I can see the Raspberry Pi being a great tool for middle school students, given that there is lots pre-loaded onto it, but it also allowed for lots of modifications once the comfort level is there. I would be very interested to see what my student could do with this!
Tackling the Raspberry Pi was slightly outside of my comfort zone. I am quite comfortable with navigating software, but working with hardware has been a learning experience for me these last couple years. In my job, people are often looking at me to set thing up hardware wise, and I don't have a background of working with computer hardware, and it has never been a huge interest for me. It is something that I learn as I need to. I had to do a fair amount of research throughout the process in order to understand what I was doing and why I was doing it, particularly with formatting the SD memory card. I will admit to not really knowing why I was doing certain things throughout the process, but trusted the tutorials and information I had read as tools to fill in the blanks correctly. It sometimes took me getting through some steps I did not understand in order to get to a place that I knew what I was doing, which made me understand why I had done things earlier.
How does this connect to Makerspace?
I can see students loving this small computer! It boots up quickly, has some useful, engaging, and educational pieces to it, and can be further modified. We have talked in class a lot about using programming in a Makerspace setting, and how programming and creating (through Scratch, Greenfoot, or any other program) really connects in with creativity and critical thinking. What I do love as well is the cost aspect of the Raspberry Pi. The Raspberry Pi 3 Model B is sold for about $50CAD, which makes for a pretty cheap, highly modifiable computer. I can also see many interesting things coming from students, likely thought the use of tutorials first or gaining ideas from others, until confidence is built. I can then see some keen students coming up with some really interesting ideas of other ways that Raspberry Pi can be used.
What are my Next Steps?
There are a couple things that I do not like about how my Raspberry Pi is working right now. The primary issue right now is that I can not get a secure internet connection, so I will be looking into how I can fix that issue. Once that is going,
1. I can see myself using the Raspberry Pi semi-regularly, particularly with it set up on my TV. I have looked into some ways that the Raspberry Pi can be used as a media center, however I may need a newer model. Here is another way that I can do this...
2. I want to get or build a small case for my Raspberry Pi, since I feel I'm going to break it whenever I touch it!
3. I would like to introduce my students to it, and possibly purchase several for our school Makerspace.
Conclusion
I am proud of myself for finally getting my Raspberry Pi out of the box! It wasn't a scary as I thought it might be. I can see the Raspberry Pi being a great tool for middle school students, given that there is lots pre-loaded onto it, but it also allowed for lots of modifications once the comfort level is there. I would be very interested to see what my student could do with this!
